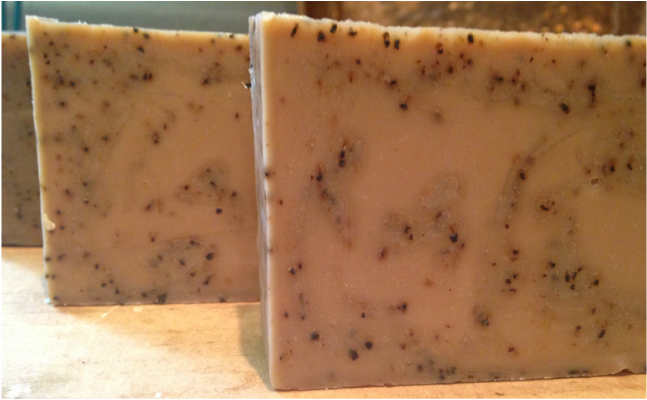
This yummy vanilla latte coffee soap was my first try at in the pot swirling (ITP). It is a pretty simple way to get a beautiful mix of two soap colors or mixtures. It is hard to tell on these, because my colors were pretty close in color, but I think they still came out great! Coffee Soap is a great deodorizer, so this soap would be awesome to have by your kitchen sink to get rid of those pesky lasting smells. It helps to absorb odors, is naturally exfoliating with the coffee grounds, and the caffeine is said to help fight cellulite. So, lets be real, coffee is just awesome, why not put it in soap!
I will start by giving you the recipe I used and then show my step-by-step photos with descriptions. I made a very large batch of this soap and would probably cut my recipe in half next time I make this soap.
50 oz. Olive Oil
27 oz. Coconut Oil
10 oz. Sunflower Oil
12 oz. Lye (NaOH)
28.7 oz. Water/Coffee
7 oz. Goat Milk (evaporated)
.33 oz. of Vanilla Essential Oil
2 tbsp of White Kaolin Clay
2 tbsp of coffee grounds (optional-for exfoliation and color)
Because I wanted to try the ITP technique, I decided to split the batch in half and start one batch with a coffee/lye solution and one with a water/lye solution.
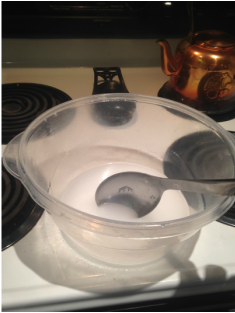
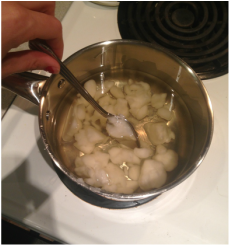
In all of the tutorials and blogs I have read or seen (so many I can't even count), they all make it seem like the time it takes for the reaction of the lye and water is so quick. I have learned otherwise. When I make soap, I spend the majority of my time waiting for the lye water to cool down to around 115° before adding it to my oils. The time it takes depends on how much lye and water you are using... for a bigger batch, it will take a hot min.
50 oz. Olive Oil
27 oz. Coconut Oil
10 oz. Sunflower Oil
12 oz. Lye (NaOH)
28.7 oz. Water/Coffee
7 oz. Goat Milk (evaporated)
.33 oz. of Vanilla Essential Oil
2 tbsp of White Kaolin Clay
2 tbsp of coffee grounds (optional-for exfoliation and color)
Because I wanted to try the ITP technique, I decided to split the batch in half and start one batch with a coffee/lye solution and one with a water/lye solution.
In all of the tutorials and blogs I have read or seen (so many I can't even count), they all make it seem like the time it takes for the reaction of the lye and water is so quick. I have learned otherwise. When I make soap, I spend the majority of my time waiting for the lye water to cool down to around 115° before adding it to my oils. The time it takes depends on how much lye and water you are using... for a bigger batch, it will take a hot min.
 |  |
While I wait on the lye/water to cool down, I heat up my oils and mix them together.
 | 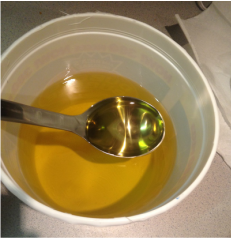 |
Once my oils are melted and my lye/water is around 115°, I pour the lye/water into the oils. I separated my oils into two separate batches, one for my coffee/lye solution and one for my water/lye solution.
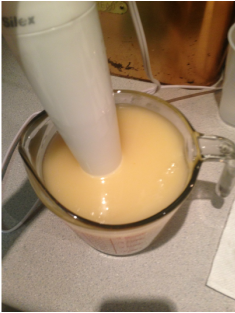 |  |
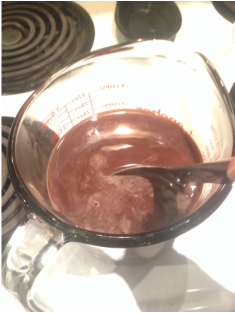
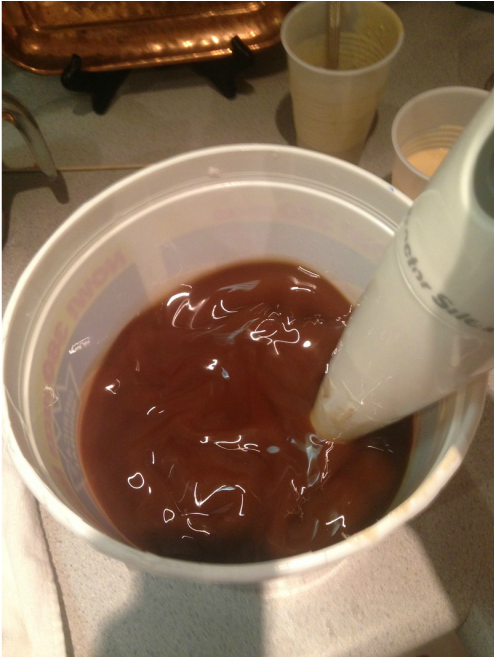
I mix these both up until I reached a very light trace. Trace is a point during the soap making process when the oils and lye water have emulsified. To know when you reach trace... you can lift the stick blender and if you get small lines where the drippings land back into the batch, you've got it! Once you get to a very light trace, it's time to add our goat milk, kaolin clay and essential oil. I also added coffee grounds to part of the soap.
SIDE NOTES:
-Goat Milk is wonderful for people with dry or sensitive skin, or conditions such as eczema and psoriasis. It is also great to keep healthy skin, healthy. It delays signs of skin aging, has anti-bacterial properties, there is no chemical counterfeit, it has anti-inflammatory properties, is loaded with essential nutrients and vitamins like vitamin D, C, B1, B6, B12, and E, that feed the skin and are absorbed into the body.
-Kaolin Clay is a naturally occurring clay substance mostly found in soils that have developed from the chemical weathering of rocks in hot, moist climates. It helps in detoxifying the skin and can treat various skin conditions
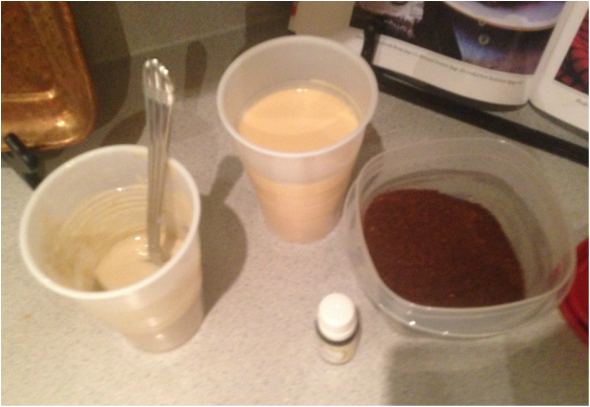
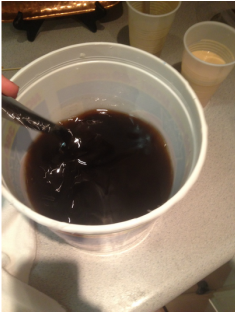
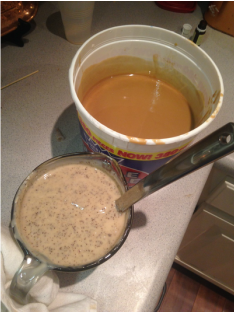
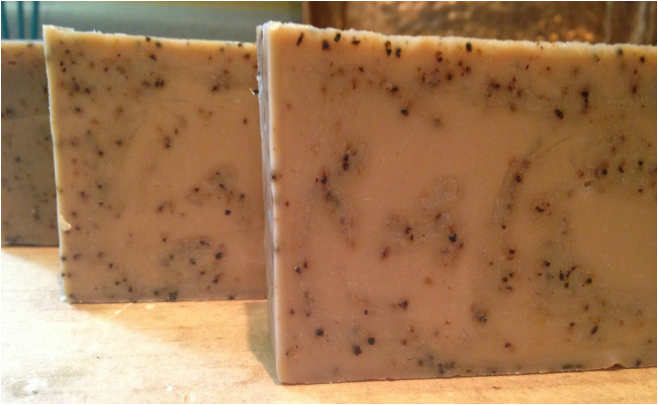
The coffee lye solution made the soap turn a very pretty brown, but adding the clay and goat milk lightened it up a bit. After adding in all the extra "enhancers" and making sure they are mixed well and at trace, its time to do some "in the pot" (ITP) swirling! I took the light, coffee ground filled soap and poured it in three spots into the darker brown soap bucket. I did it in the shape of a triangle and basically just poured at each of the imaginary points. I poured it with a little bit of height, so the soap would reach the bottom of the bucket. Then I moved it closer, so the soap would be on the top as well. After pouring all of the coffee ground soap into the bucket, I took a spoon and gave it one swirl around and that is it! You wouldn't want to mix it very much because when you pour your soap into the molds, it continues to mix and swirl itself!
 |  |
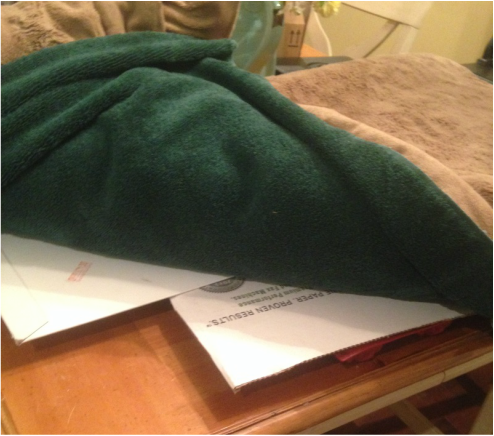
I did not get any pictures of me pouring the soap into the molds! Playing photographer and soap maker at the same time can be tricky! Pouring the soap into the molds is relatively easy though... using two hands! Once the mold is full, gently tap the mold up and down on a hard surface to release any trapped bubbles inside. You want to make sure this is done pretty fast after your soap comes to trace. Your soap is still going through a chemical reaction and well...its still becoming soap. Once you get the solutions into the molds and have given them a few taps, place card board on top, place towels over them, and then a nice big blanket! This step is a personal choice of each soap maker. By putting the solutions under blankets you are helping your soap go into "gel phase", where it creates heat and the blankets help to keep the heat in. Some soap makers do not want the soap in gel phase and they immediately place their molds into the fridge or freezer. This is a personal choice and your soap will come out great either way!
After letting the soap sit for 24-48 hours, it can be un-molded and set out to cure.
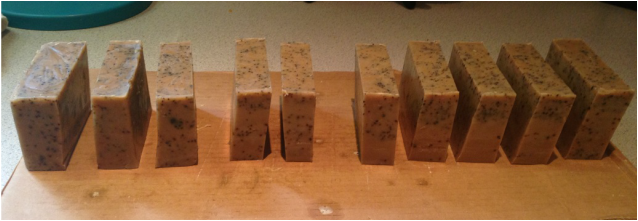
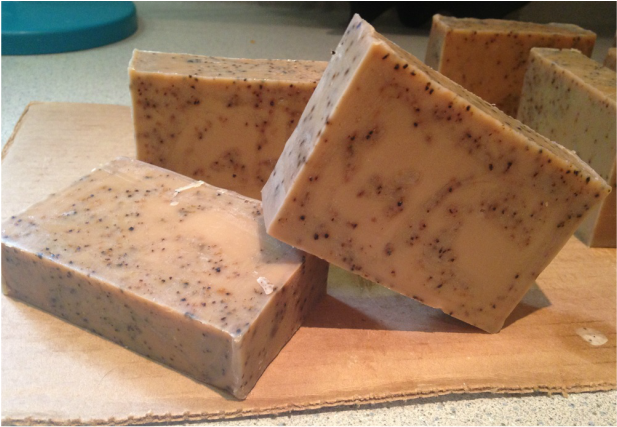
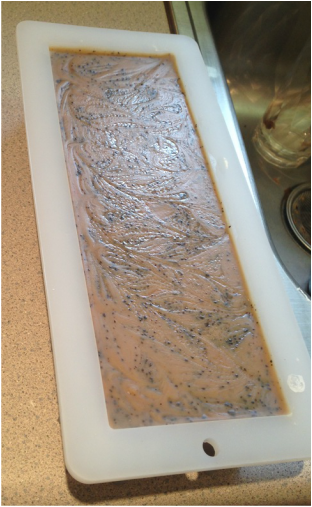 | 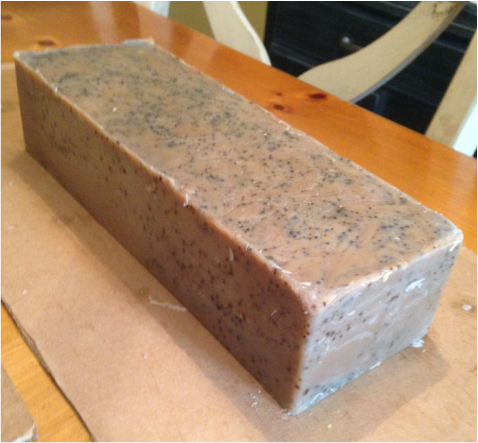 Once my soap is out of the mold, I measure and cut it into 10 bars. The soap is still soft but is hard enough to keep its shape. Each bar is 4-5 oz. These will sit for 4-6 weeks to completely cure before they can be used. The longer they cure, the longer the bar of soap will last in the shower. As they cure, every few days, I will turn them so each side will get air. The curing process draws out the additional water and moisture from the bars. |
 |  |
I can not wait to try these out! One of the hardest parts about soap making is having to wait weeks to try out your work! I will be working on making a little bit of a soap inventory and then will be heading to farmers markets to sell them! I am so glad I found this hobby! I love knowing exactly what I am putting on my skin, and learning so much about skin care! If you have any questions, or would like to purchase soap, please contact me!
 RSS Feed
